 |

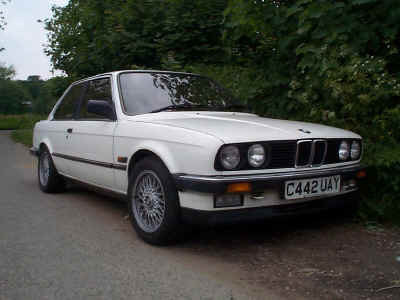
The Donor car is ready for work. Instructions
were very brief - AXE the chrome bumpers (we think he was serious about
the axe part).
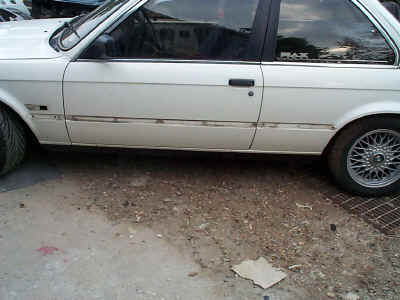
The car appears superficially solid, and after
stripping only a fairly small amount of rust was found in the rear
arches, and on one sill - nothing to prevent us going ahead.
The first job is to remove the bumpers, and strip all
trims, and indicators etc from the outer shell.
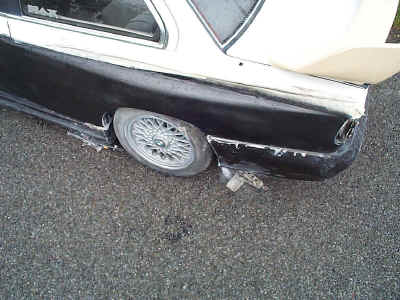
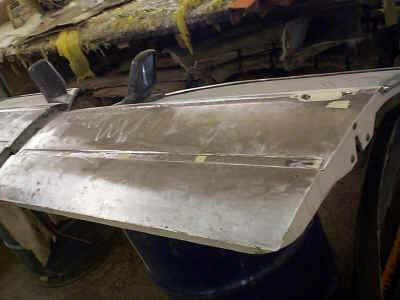
Then the car sides are waxed, and gelled as pictured
below in black. |
 |
 |
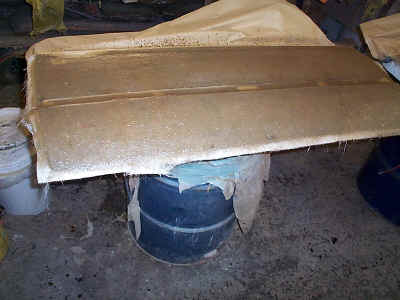
This gell is then laminated just as if we were making
a bumper.
Once the fibreglass laminate has cured, we apply
expanding foam to the sides of the car (not pictured) which can be very
messy. After a few days the foam is shaped as we require and then a
layer of fibreglass applied over the top to stablise it, before we carry
out normal filling and sanding to get the finish perfect.
Once happy we make moulds from which copies can be
made. All sound simple. Budget around 300 hours!!! then multiply by
labour rate and add material costs (over £10000) |
 |
 |
 |
 |
 |
 |
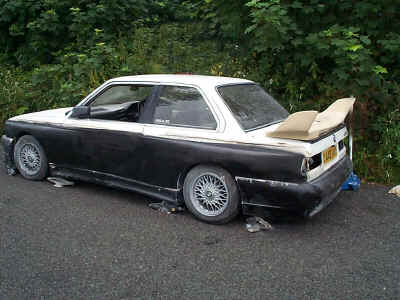
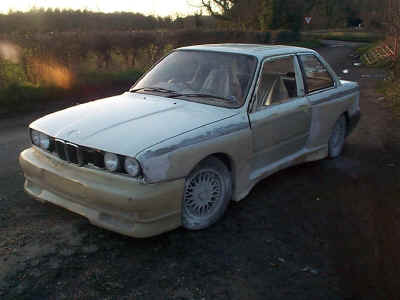
| Notice above that the side panels are still in
one piece. Here they are being trial fitted to check that it all looks
good together. It looks as though we are nearly finished - we are only
just started. The basic shape is there, but there is a huge amount of
sanding and filling to be done prior to painting the panels, which are
pictured in black aerosol so that you look at the shape and not the
fibreglass and filler that lies below. |
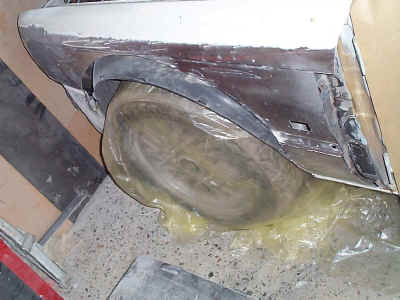 |
 |
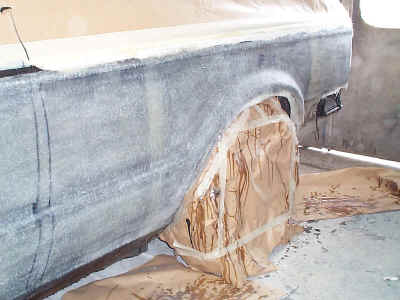
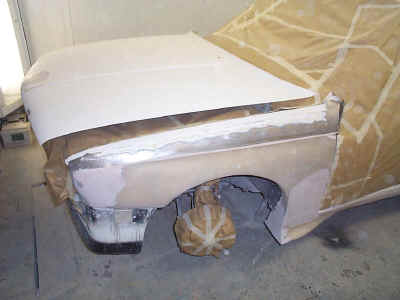
| The front arch is cut back to allow for the
huge wheels anticipated. Then the paint is removed, and the side of the
car laminated with fibreglass, and allowed to go off. Notice the back
arch has also been cut, but since it is double skinned it has been
welded. |
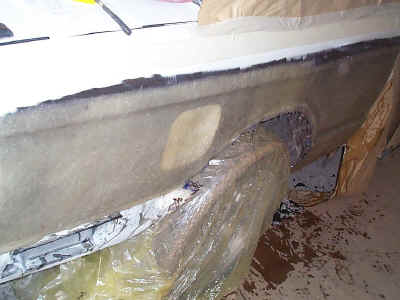 |
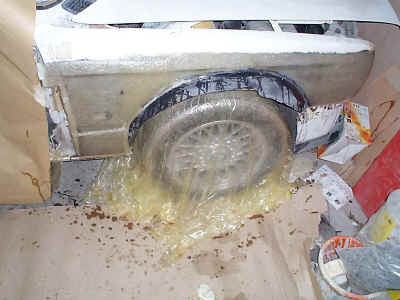 |
| Once cured the fibreglass is sanded, and then
the arch bonded over the top - don't forget to cut the filler hole out
or it will be a show only car! Foam injected into gap between arch and
fibreglass to help durability. |
 |
 |
 |
 |
| Just the bumpers, and spoiler to go, oh, then
there's the sanding and filling, more sanding and filling, and then
priming, and sanding, and not forgetting the preparation and painting -
another 200 hours should cover it!!!
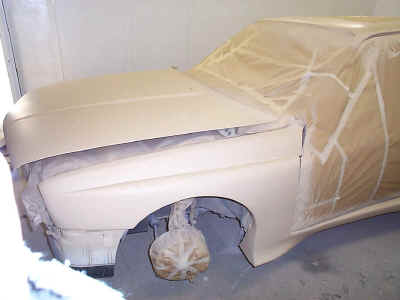
Below you can see the newly fitted gullwing doors, and the bodywork
prep starts in earnest.
|
 |
 |
 |
 |
 |
 |
|
|
|
|